Garage Door Seal Replacement in Edina, MN: A Step-by-Step DIY Guide
Edina Garage Door Repair has assembled a clear, practical guide to garage door seal replacement that walks through the entire job from start to finish. This article offers tips, safety notes, troubleshooting advice, and maintenance steps to make sure a new bottom seal performs well for years. Whether the goal is to keep water, rodents, and bugs out or simply to improve energy efficiency, garage door seal replacement is one of the easiest and most cost-effective DIY repairs you can tackle.
Why a garage door seal replacement matters
A worn or shredded garage door bottom seal lets the outside in. Water can puddle into the garage during storms, pests can find an easy entrance, and air leaks can reduce energy efficiency. A proper garage door seal replacement restores a tight boundary between the garage interior and the elements. Beyond the obvious benefits, a new seal can also change the door’s final resting position by a small amount, so the opener’s “close position” or “downforce” may need minor adjustment afterward.
Quick overview of the process
The basic process for garage door seal replacement is straightforward:
- Remove the old seal from the bottom track.
- Clean and prep the track so the new seal slides in smoothly.
- Feed the new seal into the bottom track, keeping it straight.
- Trim the excess and check the door’s operation, adjusting the opener if necessary.
- Lubricate rollers and pulleys (not the track itself) after installation.
Tools and materials you’ll need
Having the right tools and materials on hand makes a quick job of garage door seal replacement. Most of these items are inexpensive and commonly available at hardware stores or online.
- Replacement bottom seal (measure the width of your door to pick the correct length or adjustable kit)
- Utility knife or utility shears (for trimming excess)
- Silicone spray (as a slide lubricant for the track)
- Small flathead screwdriver or a pick (to help seat the seal into the track)
- Gloves and eye protection
- Shop vacuum or rag (for cleaning out the track)
- Pliers (optional, for stubborn old seals)
- Screwdriver (to straighten a bent track if needed)
Safety first: precautions before you begin
Garage door components are heavy and can be dangerous if mishandled. Before attempting a garage door seal replacement, follow these safety reminders:
- Disconnect or unplug the garage door opener. Prevent the door from moving while you work.
- Wear gloves to protect your hands from sharp edges and the potentially brittle old seal material.
- Wear eye protection, especially when cutting or prying rusted parts.
- If the door is electric, make sure nobody operates the opener while you’re working.
- If the door is unbalanced, damaged, or the springs look suspect, stop and call a professional. This guide covers only simple seal replacement, not spring or cable repair.
Step 1 — Inspect and remove the old seal
Start by examining the condition of the bottom seal. If it’s cracked, shredded, or missing chunks, it’s time for replacement. Typically, the seal slides into a T-shaped track built into the bottom of the door. The seal will have a T-shaped lip that sits in the groove; it doesn’t simply pull off the face of the door.
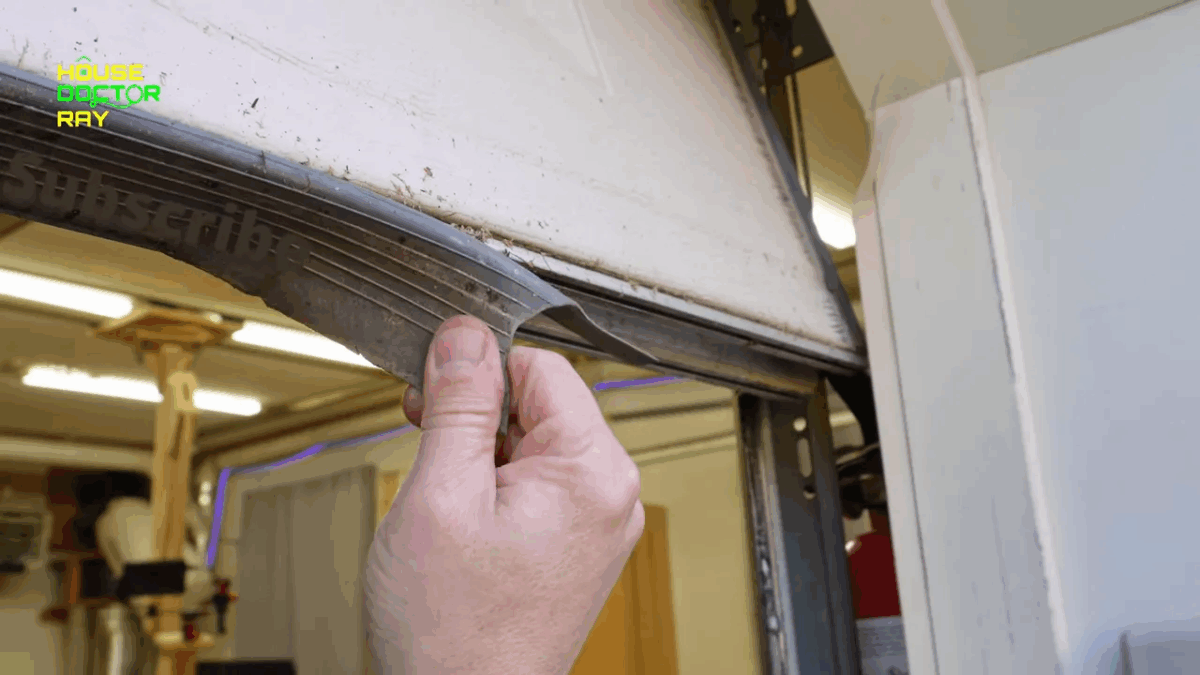
Many people are tempted to grab the ruined seal and yank it free. That can sometimes work, but most seals are tucked into the track and need to be slid out. If the seal is brittle and breaks into pieces, work methodically so you don’t end up fishing fragments out of the track. A practical trick is to cut the old seal lengthwise into two shorter sections—pulling half from one side and half from the other—so you only have to manage smaller pieces at a time. Cut with a utility knife or snips, then pull each piece straight out of the groove.
Be patient. Dirt and debris often pack the track and make the seal stubborn. Pry gently with a flat screwdriver if necessary and clear away any chunks before attempting the new installation.
Step 2 — Clean and prep the track
With the old seal removed, clean out the track thoroughly. Remove accumulated dirt, pebbles, old adhesive fragments, and anything that could snag the new gasket. Use a shop vacuum, rag, or compressed air to get a clean surface. A clean track is essential so the new bottom seal slides into place without binding.
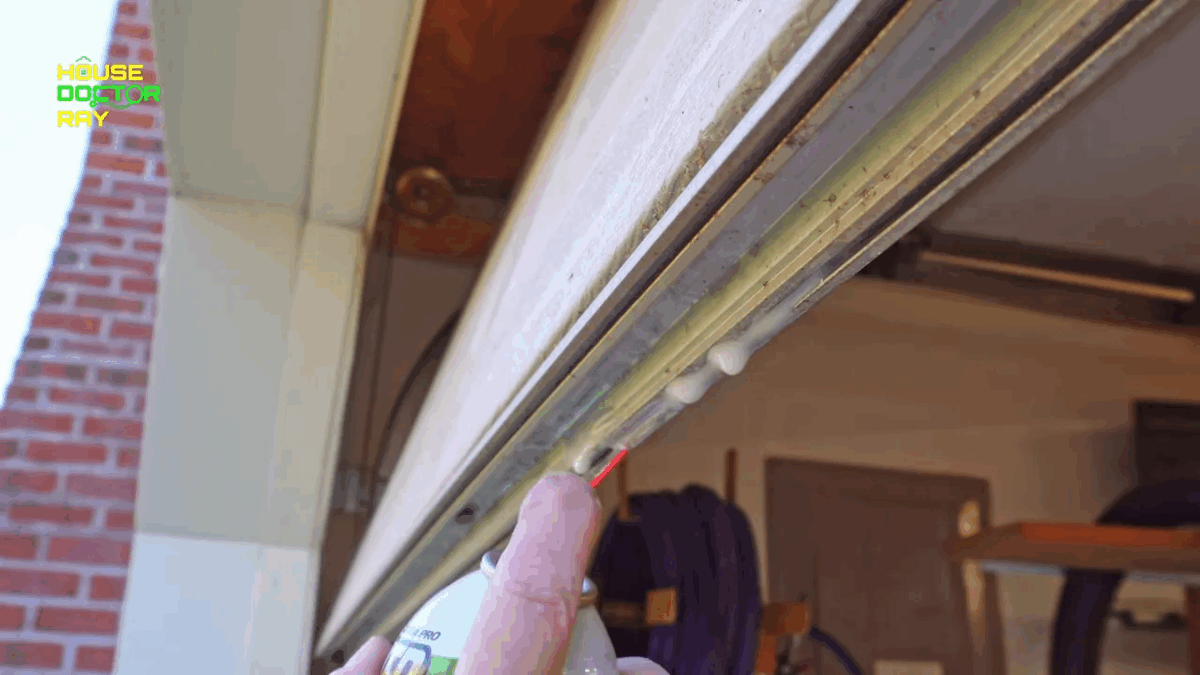
After you’ve cleaned the track, use a silicone spray to lightly coat the inside of the groove. The goal is not to lubricate the track for door movement (you never lubricate the track where rollers ride), but rather to ease the installation of the rubber gasket. A light mist of silicone helps the T-shaped lip slide into the slot and reduces the chance of the new seal catching and tearing during installation.
Step 3 — Understand the new seal profile
Most replacement seals used for the bottom of sectional doors have a recognizable profile: a T-shaped lip along the top that slides into the track, ribs or fins on the bottom that compress against the floor, and a smoother inner face. When preparing to install, orient the seal so the ribs face down and the T-lip faces up into the track.
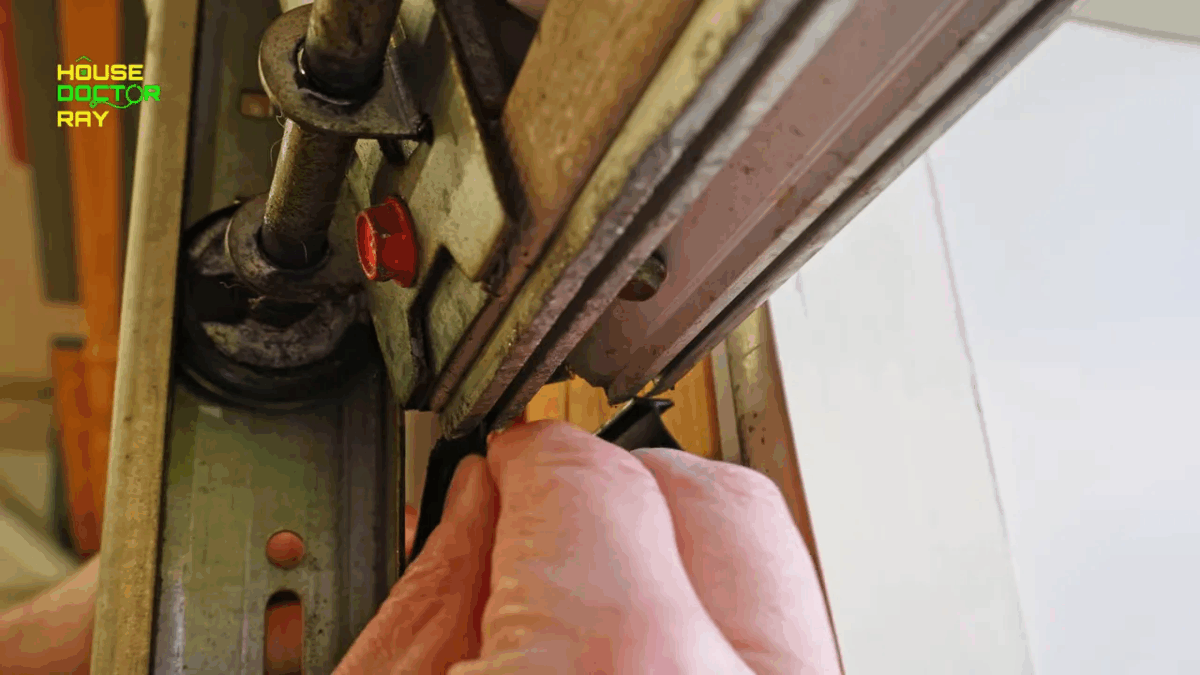
It helps to give the new seal a gentle bend or fold so the T-lip is exposed and easier to feed into the slot. This small pre-forming step makes the initial insertion smoother and avoids excessive force that could twist or damage the seal as you feed it into the track.
Step 4 — Feed the new seal into the track
Feeding the new seal is a two-person job in an ideal world, but a single person can do it with patience. Start at one corner, insert the T-shaped top of the seal into the groove, and begin to feed it along the length of the door. Keep the seal straight as you work—if it twists or bends, stop, straighten it, and continue. Work incrementally by moving a few inches at a time, making sure the T-lip is fully seated in the track before progressing.
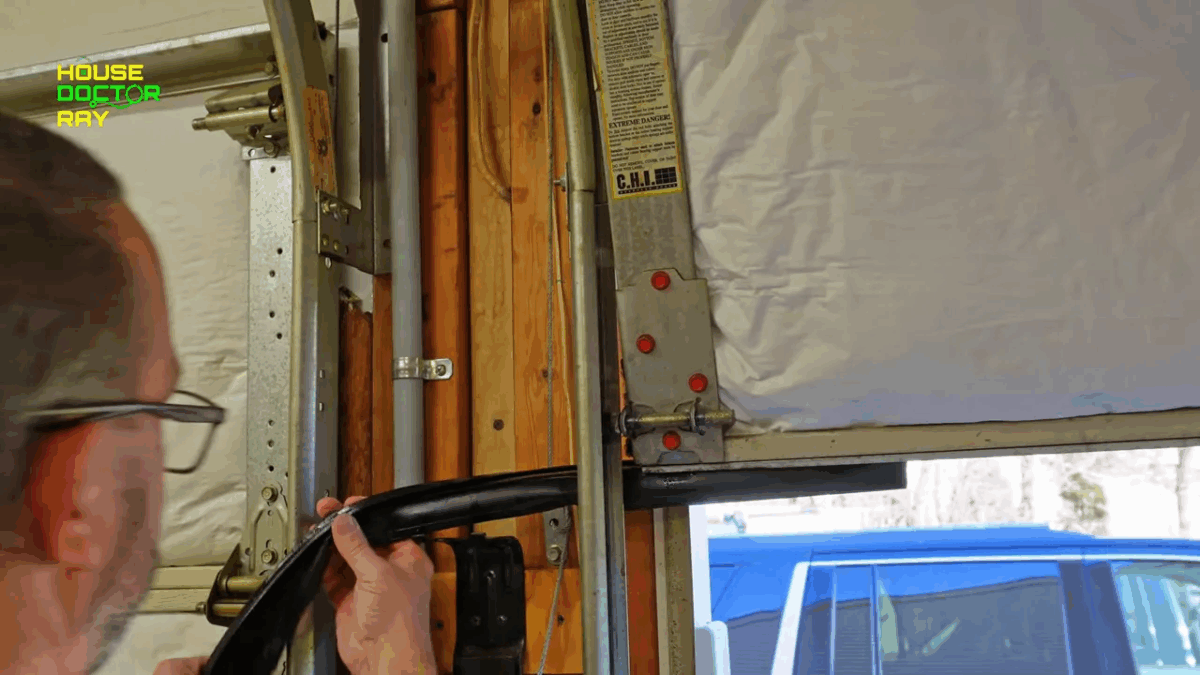
If the seal doesn’t want to slide, use a small pick or flathead screwdriver to help tuck the T-lip into the groove. Avoid sharp prying that could nick the rubber. If the track is slightly bent where it meets the corner, gently straighten it with a screwdriver so the seal can pass through uninterrupted. Keep the new seal protruding a little past the end of the door so you can trim it cleanly later.
Step 5 — Keep it straight and trim to fit
While feeding the seal, periodically step back and visually confirm it is running straight along the track. If the seal is angled, stop and pull it back a bit, straighten it, and continue. For long doors, a helper holding the far end while you feed helps tremendously.
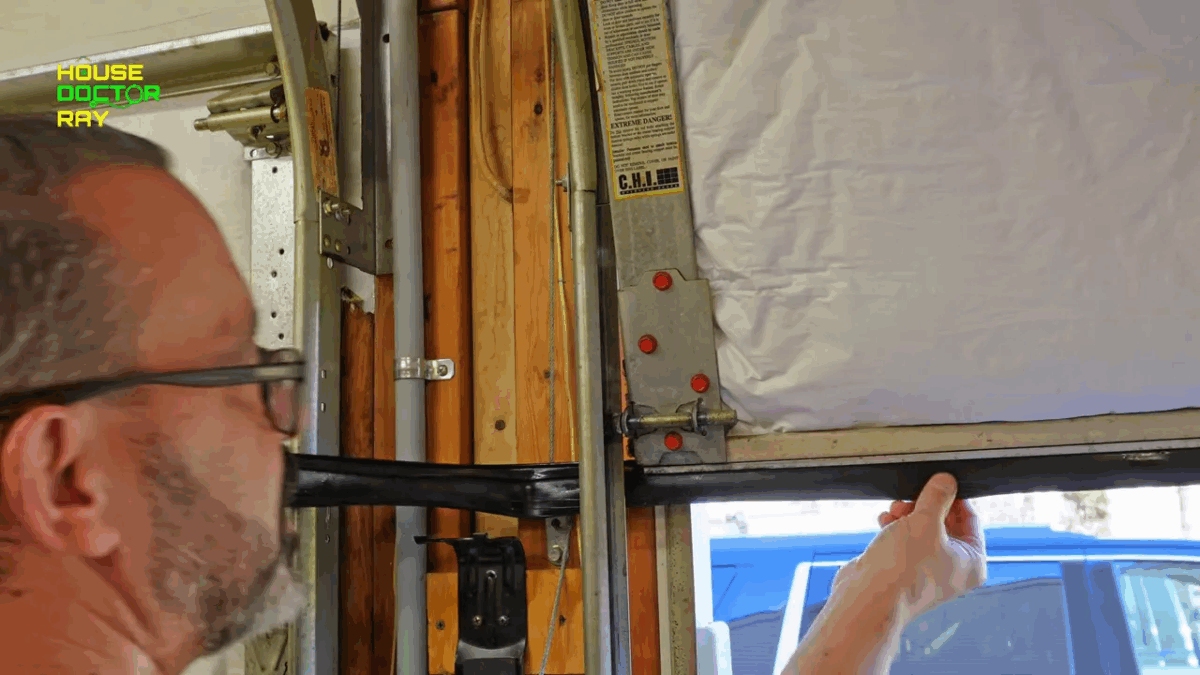
Once the seal is fully installed, trim the excess so it is flush with the door edge. Use a utility knife or utility shears to make a clean, straight cut. It’s better to leave a tiny bit long and trim slowly than to cut too short and get gaps at the corners.
Step 6 — Test the door and adjust the opener if necessary
After a garage door seal replacement you may notice the door doesn’t sit exactly where it did before. The new rubber adds a fraction of height, which can change the “close” position the opener uses. Many openers have an adjustable close stop or a mechanical slider for fine tuning. Others use electronic downforce settings.
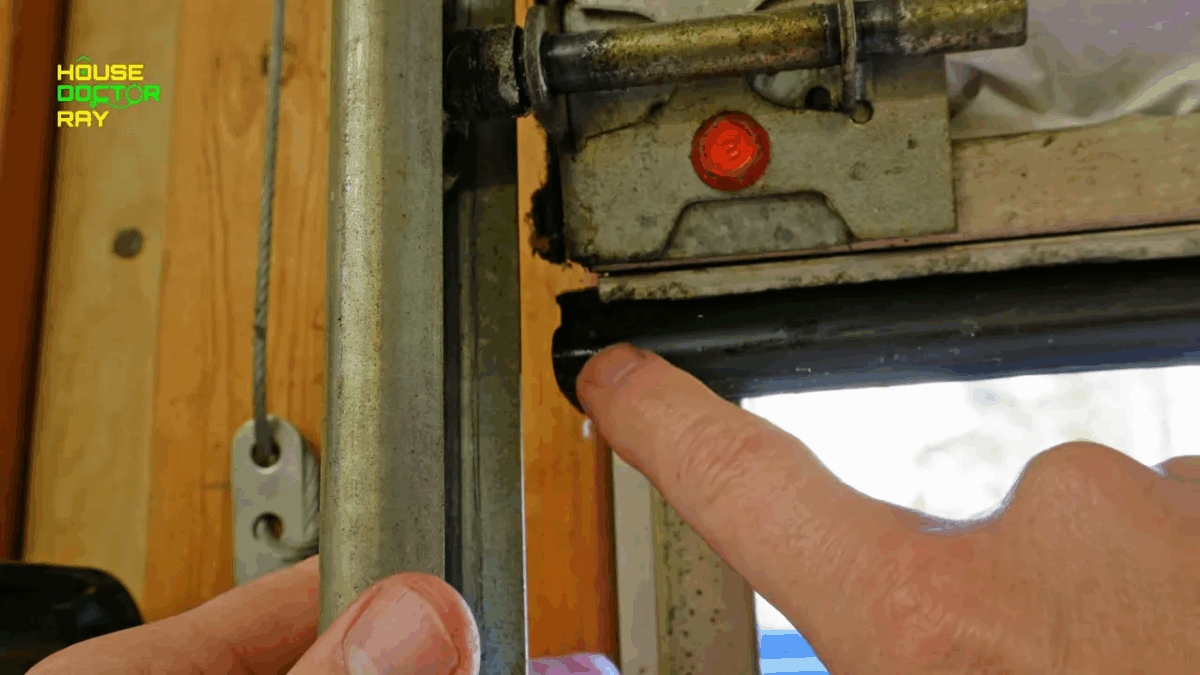
If the door stops just shy of the floor when closing, adjust the close limit a bit so the door compresses the seal properly. If the door slams into the floor or the opener strains, back off the adjustment or reduce the downforce setting. Make small changes and test the door several times to find the ideal balance between a good seal and safe opener operation.
Step 7 — Lubricate and finish up
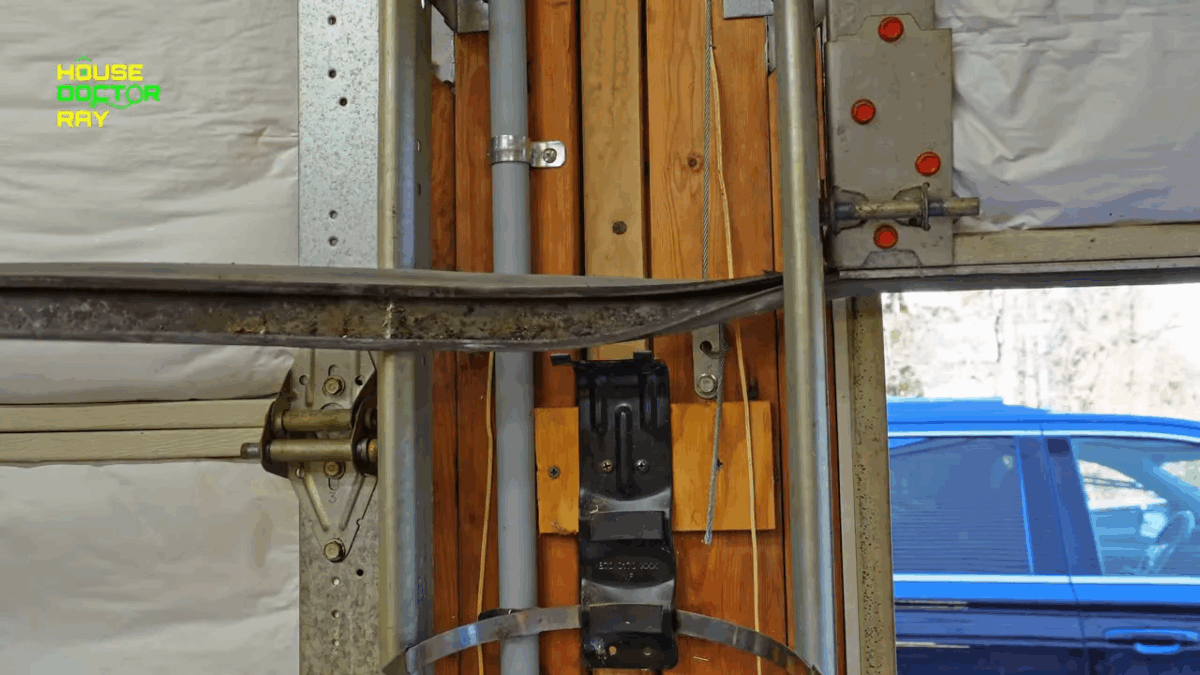
Once the new seal is installed and the door closes correctly, perform basic lubrication and maintenance. Do not grease or oil the door track where the rollers ride—this creates buildup and attracts dirt. Instead, lubricate the bearings, the pivot points, the rollers’ bearings (not the nylon wheel surfaces), and pulleys. A light garage door lubricant or a silicone-based spray on the small bearings and pins is appropriate.
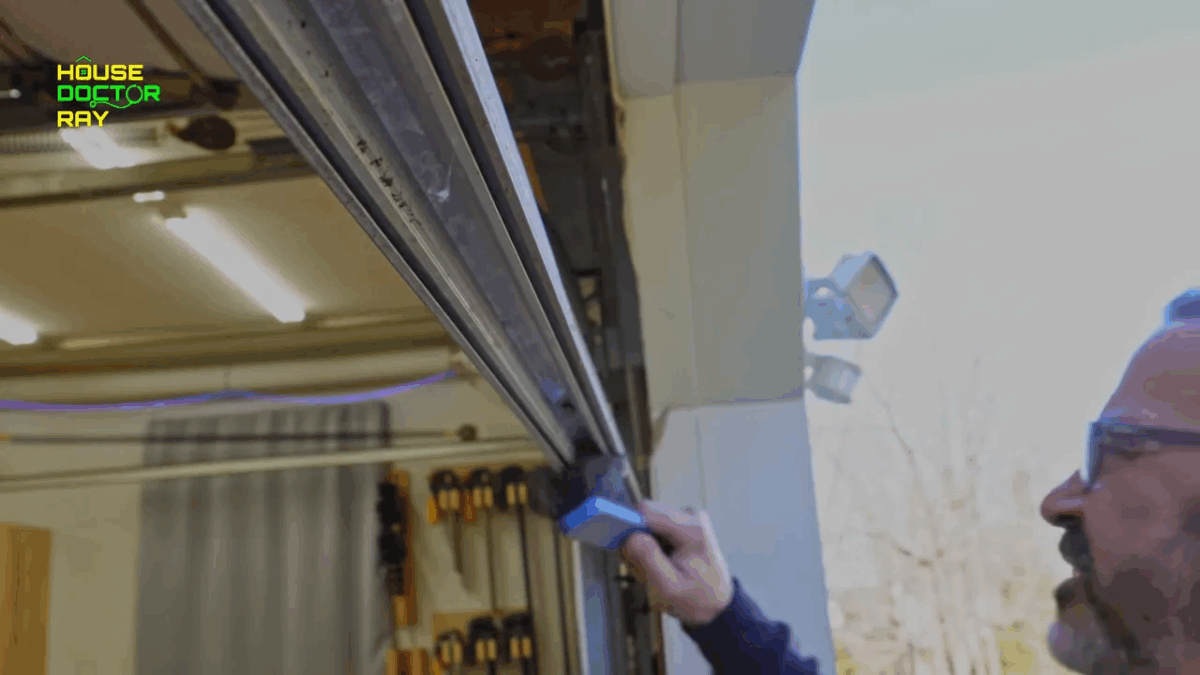
Once you’re finished don’t forget to lubricate all your pulleys and the wheels that go in the tracks and remember the track itself doesn’t get lubricated—just the bearings on the little pins that stick out into the side.
After lubrication, do a final check for any stray pieces of the old seal left in the track, confirm that the new seal compresses evenly along the bottom when the door closes, and verify the opener runs smoothly without extra strain.
Troubleshooting: common issues and fixes
Even with a careful approach, a few common problems can arise during garage door seal replacement. Here’s how to handle them:
- The new seal won’t slide in: Clean the track again and use silicone spray. Use a pick to open the groove slightly and feed the T-lip. Straighten any low spots in the track with a screwdriver. Work slowly and avoid forcing the seal.
- The seal tears while feeding: You may have a jagged edge or debris in the groove. Remove the seal, clear the track, and try again. If the seal is low-quality or old stock, consider replacing with a thicker or more flexible profile.
- The door doesn’t fully close after installation: Adjust the opener’s close limit or downforce settings as described above. Make small adjustments and test each time.
- Seal sticks out too far or causes slapping when door opens: Trim the bottom edge a little, or choose a seal with shorter ribs or a tighter profile. The goal is a compressible seal that lies flat when the door is closed and retracts without interference when the door opens.
- Track is damaged or severely bent: Minor bends can be corrected with a screwdriver; major damage requires professional repair. A misshapen track can pinch the seal and cause premature wear.
Materials, cost, and time estimate
Garage door seal replacement is inexpensive compared to most garage door repairs. Typical costs include:
- Replacement seal: $10–$40 depending on material and length
- Silicone spray and lubricant: $5–$15
- Utility knife, shears, or small tools: often already owned, otherwise $5–$20
Time-wise, an experienced DIYer can complete a garage door seal replacement in 30–60 minutes for a single door. If the old seal is stubborn or the track needs cleaning and straightening, plan for closer to 60–90 minutes. Having a helper cuts the time significantly.
When to call a professional
This guide focuses on straightforward garage door seal replacement. Call a professional if:
- The door springs or cables look damaged or frayed.
- The track is severely bent or misaligned.
- The door is unbalanced or the opener struggles significantly even before testing.
- There’s any uncertainty about safely disconnecting the opener or handling heavy components.
For more complex issues, such as spring replacement or major track repair, a qualified garage door technician is the safest bet.
Maintenance tips to extend the life of your new seal
- Keep the track clean. Remove dirt and stones that might damage the seal each season.
- Check the seal twice a year for cracking or compression set; replace before it fails completely.
- Lubricate rollers’ bearings, hinges, and pulleys annually; avoid the track running surface.
- Wash the seal occasionally with mild detergent—dirt buildup accelerates wear.
- Ensure the door closes evenly against the floor. Uneven floors might require threshold seals or adjusting the bottom seal profile for better contact.
Advanced considerations: types of bottom seals
Most residential garage door seals fall into a few standard categories. Knowing which type you have—or which type to buy—helps ensure a proper garage door seal replacement.
- T-shaped bulb seals: These have a T-lip that slides into a track and a rounded bulb that compresses. They are common on sectional doors.
- U-shaped retainer seals: These slide over a bottom retainer bar and are fixed with screws; they’re easier on some door types.
- Rubber ribbed seals: These have multiple ribs for flexibility and better sealing on uneven floors.
- Vinyl or PVC seals: Cheaper and stiffer—work in mild climates but can become brittle in cold weather.
Select a seal material and profile suited to your climate and floor surface. For colder climates, choose a more flexible rubber compound; for high-traffic or heavy-use doors, pick a durable material designed for abrasion resistance.
Checklist before you finish
- Old seal removed and track cleaned.
- New seal oriented correctly (T-lip up, ribs down).
- Seal fed straight into the track and trimmed to fit.
- Garage door opener close limit/downforce checked and adjusted if needed.
- Pulleys and roller bearings lubricated; track kept clean, not lubricated.
- Final operational test done—door closes smoothly and seal compresses evenly.
FAQs
How often should I replace the bottom seal?
Frequency depends on exposure and climate. In most cases, inspect the seal yearly. Replace it when cracks, tears, or compression set (where the seal no longer springs back) become visible. Typically, replacement every 3–7 years is common for busy garages.
Can I install a new bottom seal by myself?
Yes. Garage door seal replacement is a straightforward DIY project for most people with basic hand tools and the desire to work carefully. Large doors are easier with a helper, and if the track is badly bent or a spring seems worn, call a professional.
Will a new bottom seal damage my garage door opener?
Not if installed correctly. A new seal may change the door’s down position by a fraction of an inch. That can be corrected by adjusting the opener’s close limit or downforce setting. Make small adjustments and test until the door seals without straining the opener.
Should I lubricate the track after installing the seal?
No. Do not lubricate the track surface where the rollers ride. Lubricating the track will attract dust and grit and increase wear. Instead, lubricate bearings, rollers’ bearings (not the nylon wheels), pulleys, and hinge pivot points.
What if the seal keeps tearing soon after installation?
Frequent tearing usually means the track has burrs or debris, the track is bent, the seal is low-quality, or the seal profile is not compatible with the track. Clean and inspect the track, straighten minor bends, and consider a different seal material or profile if problems persist.
How should I cut the replacement seal for a perfect fit?
Leave a small overhang when you finish feeding the seal into the track. Make a clean, straight cut with a sharp utility knife or heavy-duty shears. Cutting slowly and precisely ensures a snug, straight edge at the door’s end. If corners are an issue, cut at a slight angle or use a corner piece specified by the seal manufacturer.
Can weatherstripping be glued instead of slid into a track?
Some seals are designed to adhere with adhesive, but for bottom seals on sectional doors the track-mounted T-lip is standard and more durable. Adhesive seals can work on flush or single-panel doors but are less likely to survive heavy use.
Final thoughts
Garage door seal replacement is a low-cost, high-impact maintenance project that improves comfort, keeps pests and water out, and protects the garage from the elements. With a few simple tools, a bit of patience, and the steps outlined here, most homeowners can complete a successful installation in under an hour. Remember the key points: clean the track, orient the seal correctly, keep the seal straight while feeding it in, adjust the opener if needed, and lubricate only the bearings and pulleys—not the track. With routine checks and simple maintenance, the new seal should deliver reliable service for years.
If any step feels beyond comfort or if door hardware (springs, cables, major track damage) is involved, seek professional assistance to keep the door safe and operating reliably.
